Weebly
Embedding Billsby checkout
Getting Billsby integrated with Weebly is pretty simple, all you need to do is convert the embed codes you find on the Billsby site into a web link and connect them to a button.
Identify your Billsby checkout URL
Normally, when you embed Billsby into a website, you would use your Billsby embed code, which looks something like this:
// Header Code

<script src="https://checkoutlib.billsby.com/checkout.min.js" data-billsby-company="companysubdomain"></script>

// Body Link

<a href="javascript:void(0)" data-billsby-type="checkout">Subscribe</a>
// Header Code

<script src="https://checkoutlib.billsby.com/checkout.min.js" data-billsby-company="candybypost"></script>

// Body Link

<a href="javascript:void(0)" data-billsby-type="checkout" data-billsby-product="38" data-billsby-plan="41" data-billsby-cycle="61">Subscribe</a>
As you can see in the second example, at its most complex, you might have specified products, plans and cycles. However, Weebly doesn’t accept our standard embed code, so the first thing you need to do is convert it into a URL. To do this, use the template below:
If you do not want to specify a product, plan or cycle you can just leave those sections out.
For example, using the two templates above, you would get the following URLs:
https://checkout.billsby.com/subscription?data-billsby-company=**companyname**
https://checkout.billsby.com/subscription?data-billsby-company=**company name**&data-billsby-product=38&data-billsby-plan=41&data-billsby-cycle=61
If you click on those links, you should notice that they both open the Billsby Checkout at the right place in the checkout flow. If you’re happy to direct customers to checkout flows like these, then you have the option to link to them like any other webpage.
With Weebly, you also have the option to make it modal which can be achieved by following these steps:
First, you need to edit the code below by replacing "companyname" with your actual company's name:
<iframe width="560" height="315" src-"https://checkout.billsby.com/subscription?data-billsby-company=COMPANYNAME" frameborder="0" allow="accelerometer; autoplay; clipboard-write; encrypted-media; gyroscope; picture-in-picture" allowfullscreen></iframe>
As with all the examples shown above, any area of the embed codes or URLs that mention a 'companyname', should be replaced with your own company's details.
Creating and setting up your subscribe button
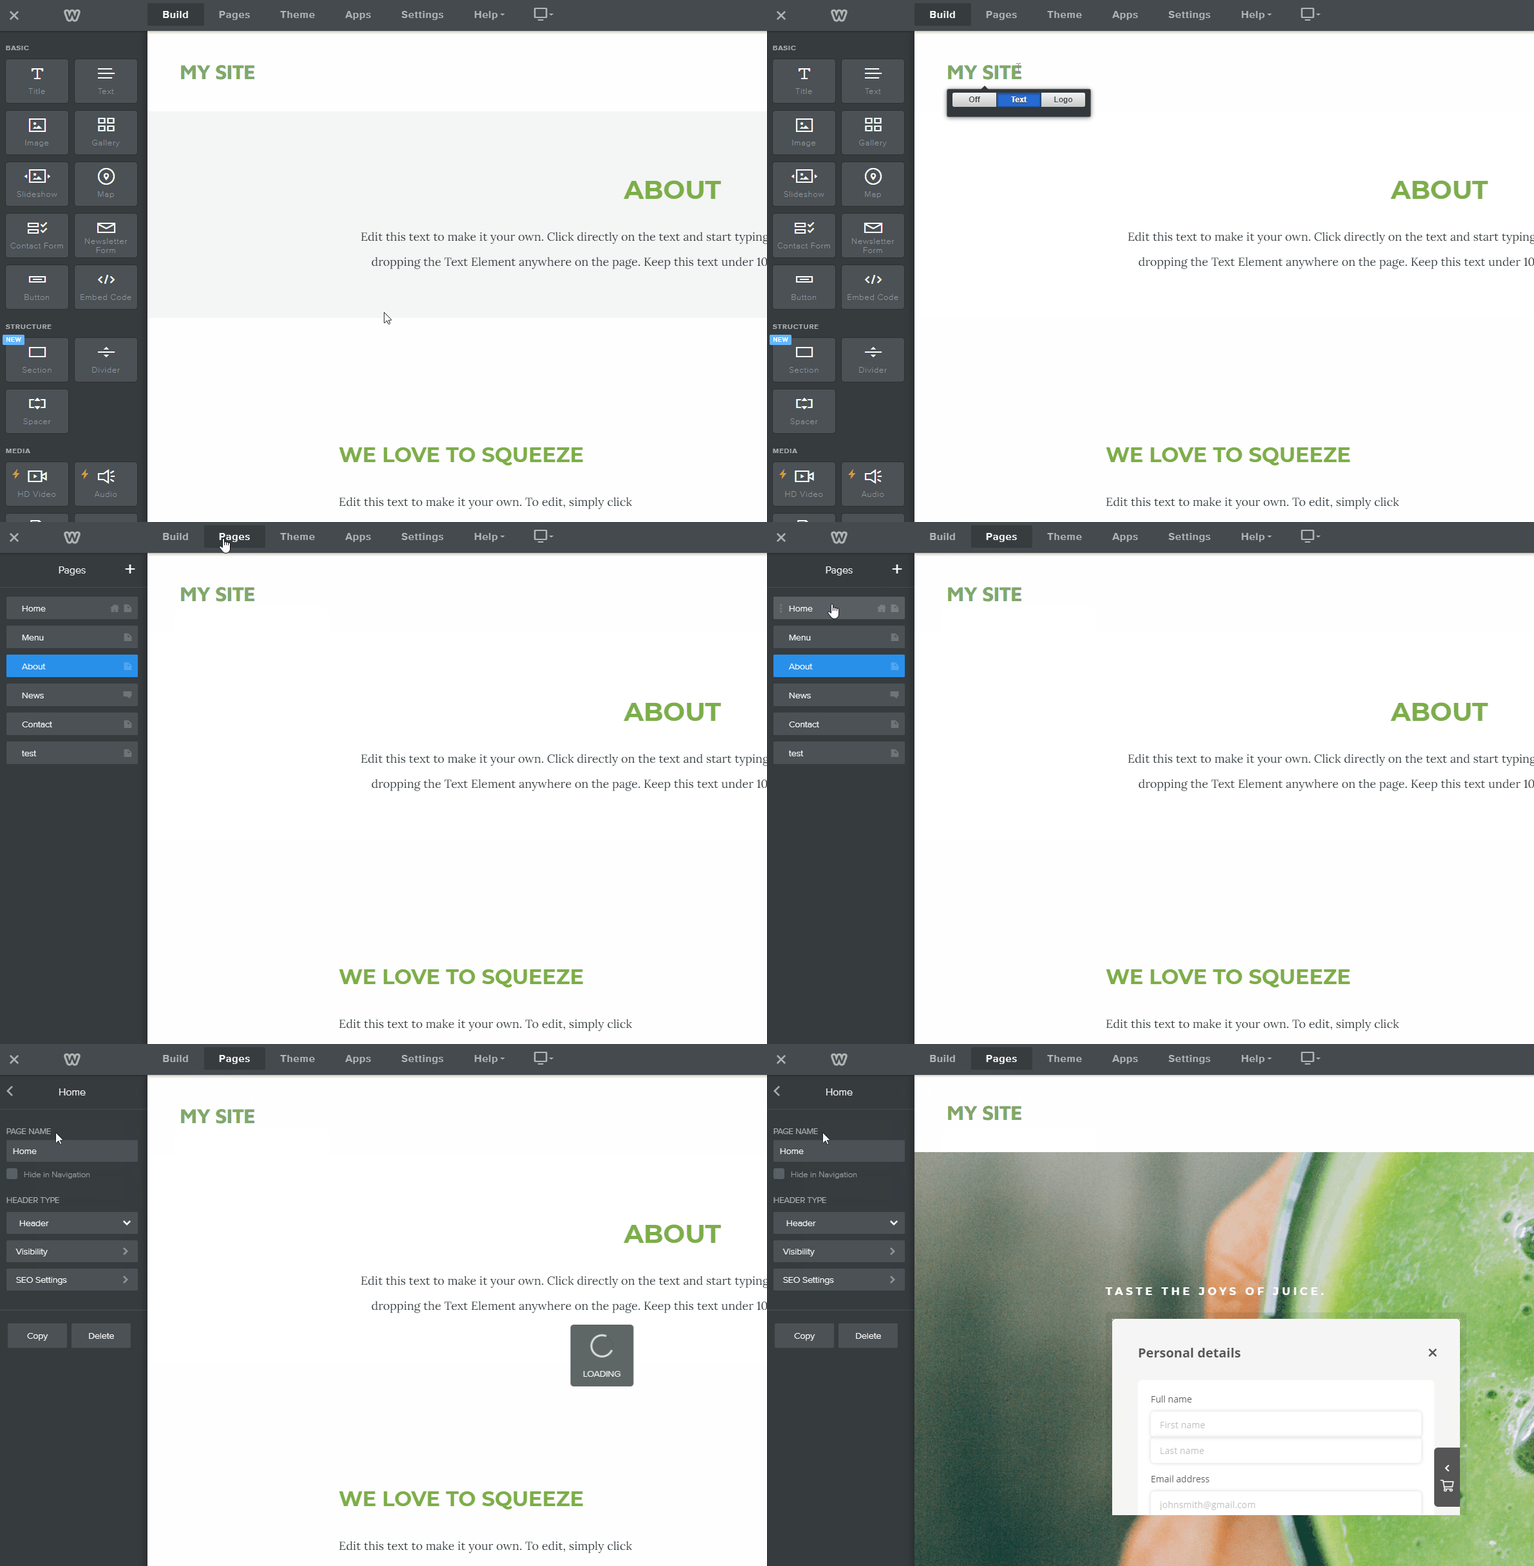
To create and set-up your 'Subscribe' button, head to your website on Weebly and enter the editing mode. Then, navigate to the page where you’d like to put a 'Subscribe' button for the Billsby Checkout. To do this, simply click on the pages tab.

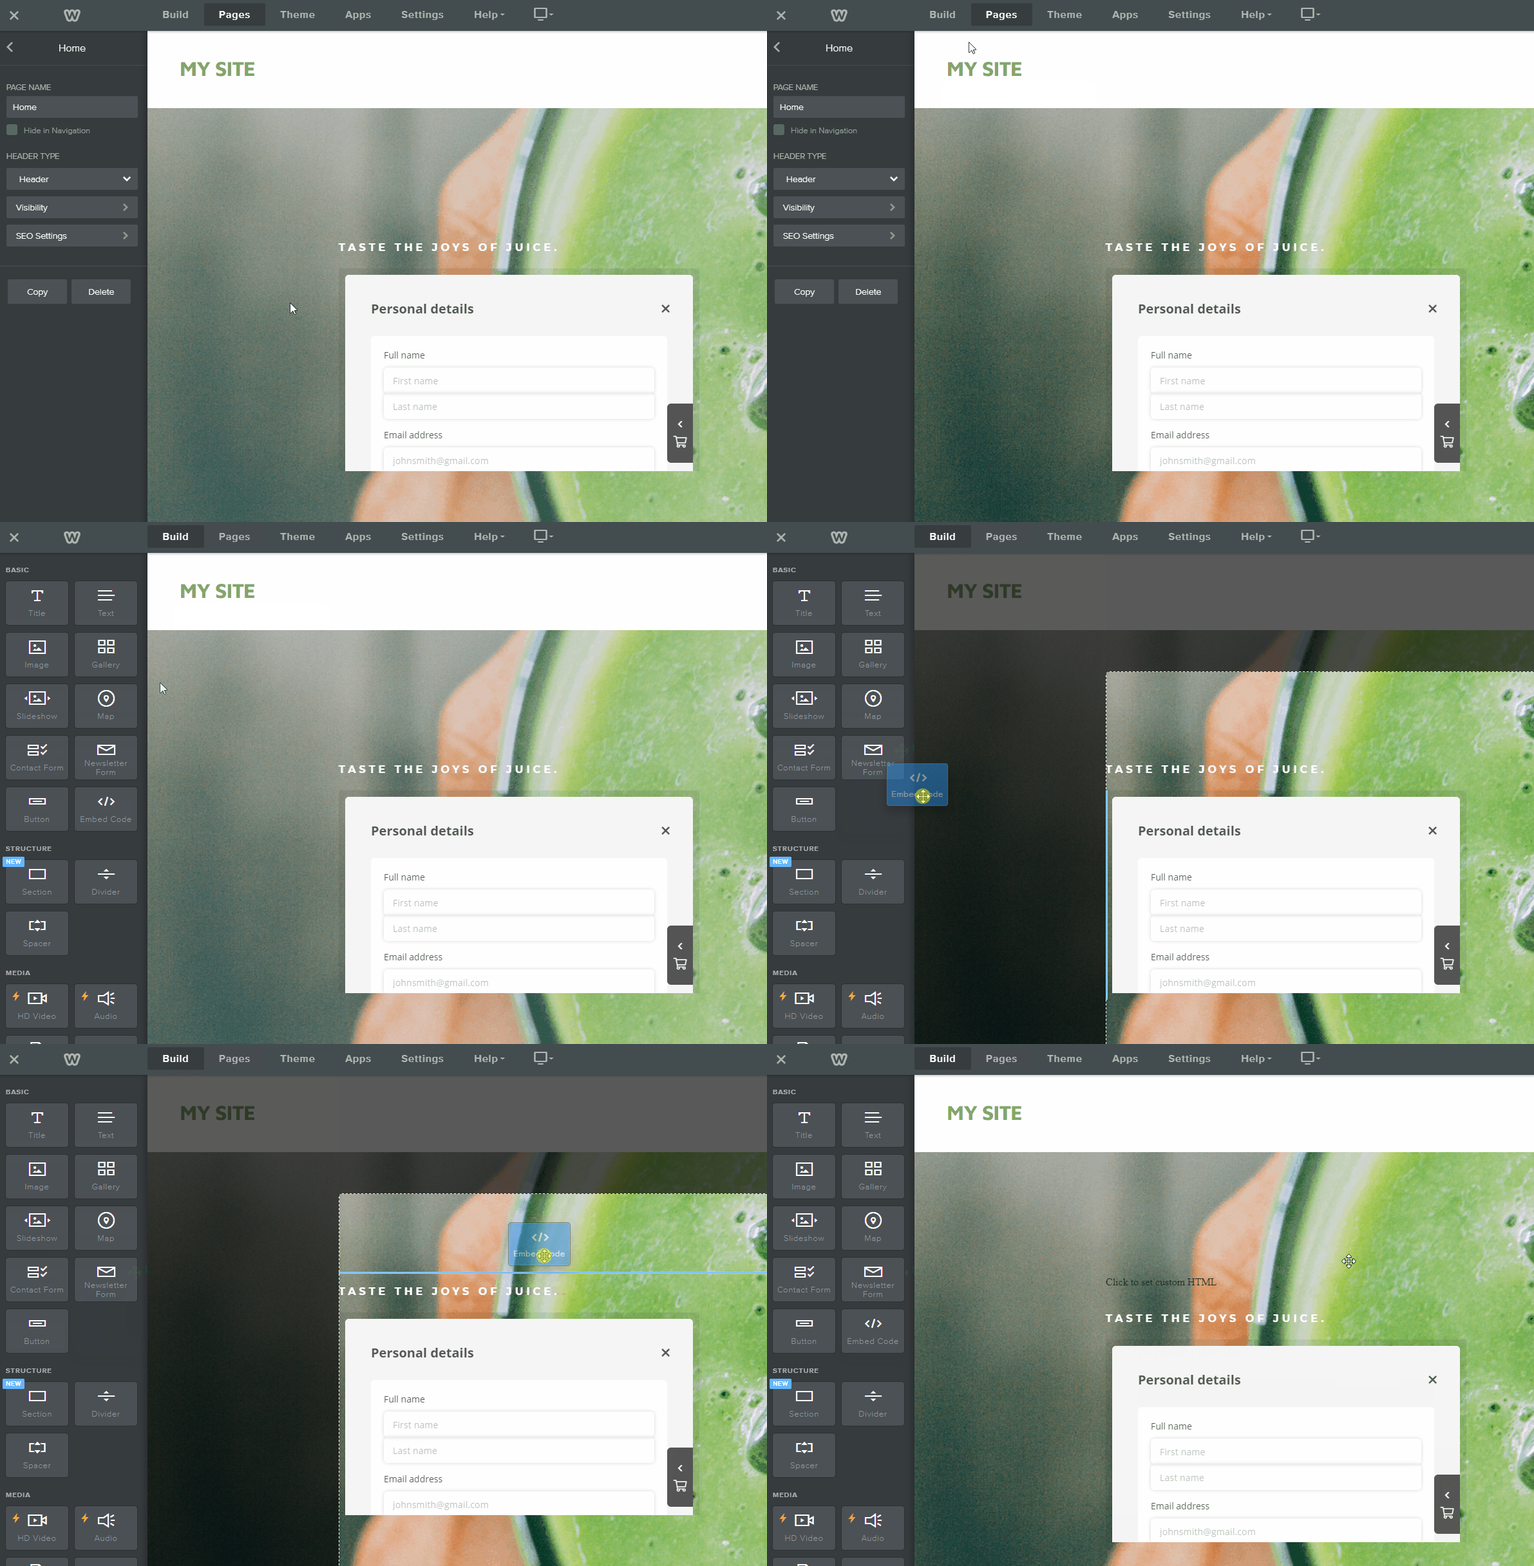
Next, click on the 'Build' tab and click and drag the 'Embed Code' button onto your page wherever you'd like the 'Subscribe' button to appear.

All you need to is click on the 'Edit Custom HTML' button and then input the code you made earlier. You also have the option to change the width and height of the button to suit your site.
Make sure to press 'Save' after your work and 'Preview' to check your button works correctly. If you have followed all of the directions properly, then your button should be successfully up and running with Billsby Checkout.
Updated about 5 years ago
