Stripe
Payment gateways usually require a two step process to be completed before you can integrate them with Billsby. First, you'd need to set up an account with them and then provide us with your API for that account. With Stripe, however, you can set up your account directly in the Billsby control panel.
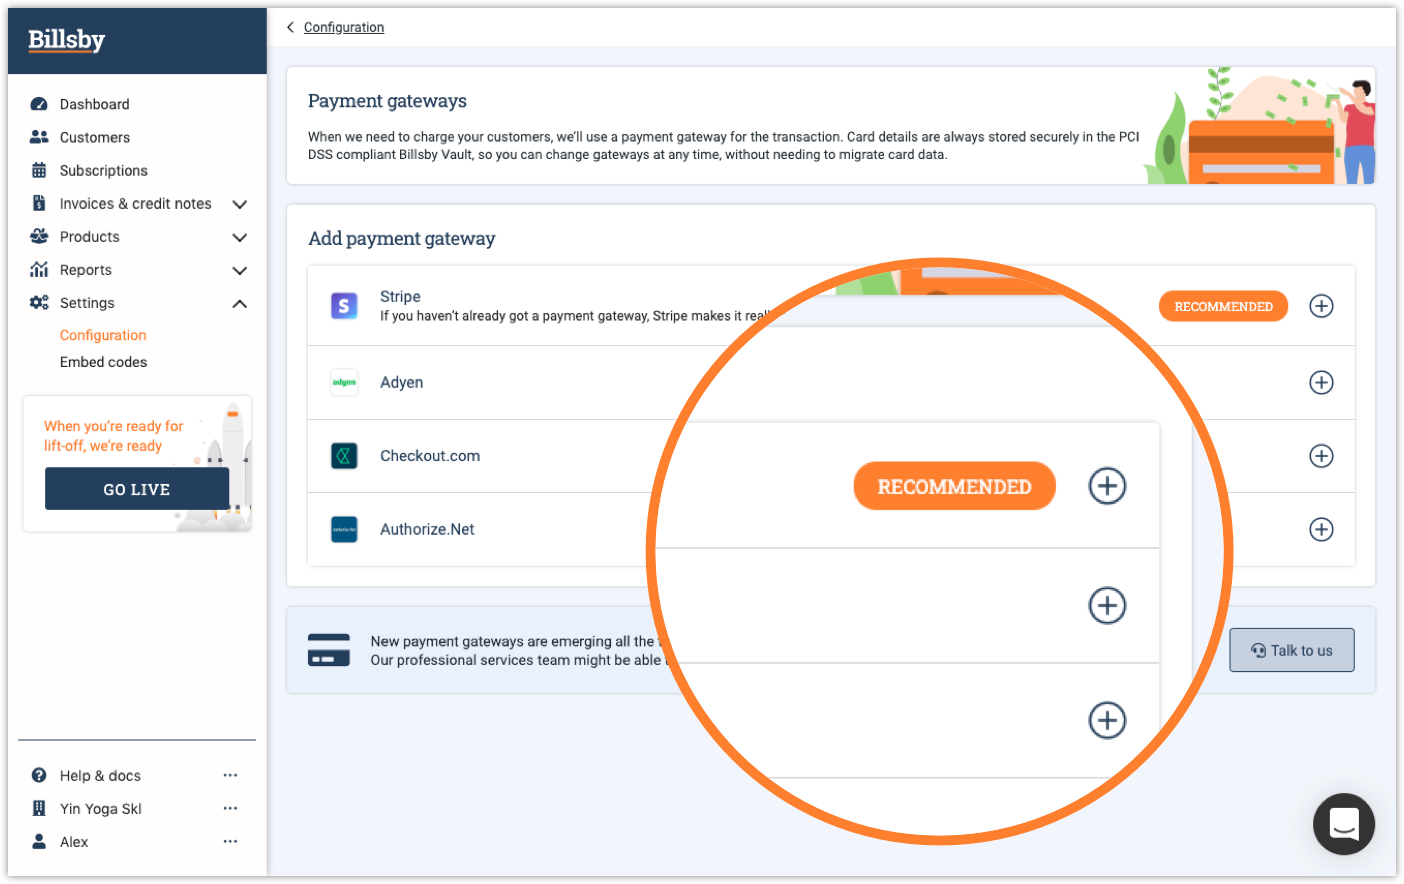
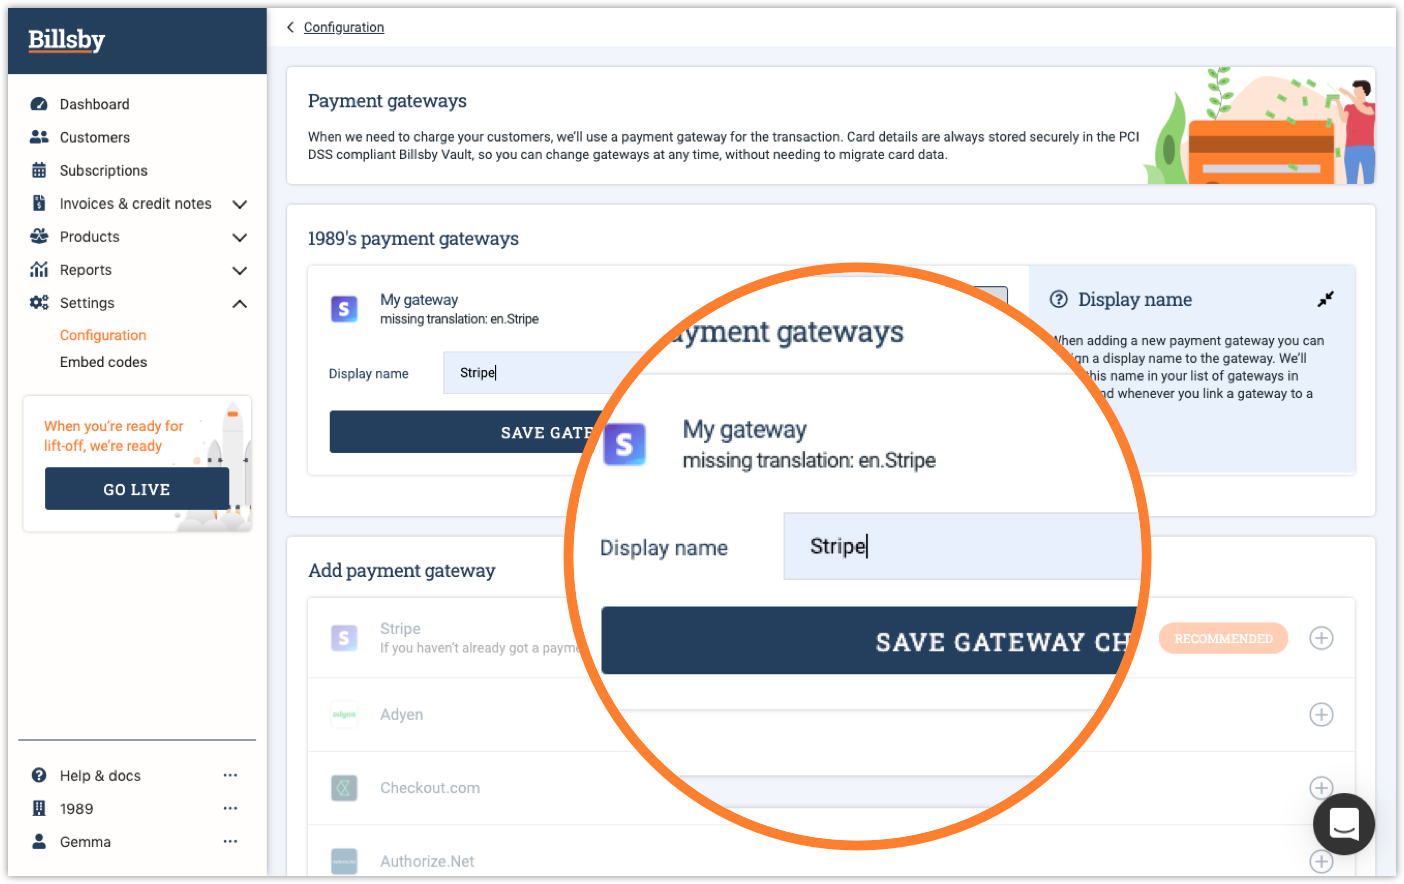
To add Stripe as a payment gateway, navigate to Settings > Configuration > Payment Gateways. Then, click the '+' button next to the Stripe gateway on the right hand side of the screen.
Next, click the ‘Connect with Stripe’ button.
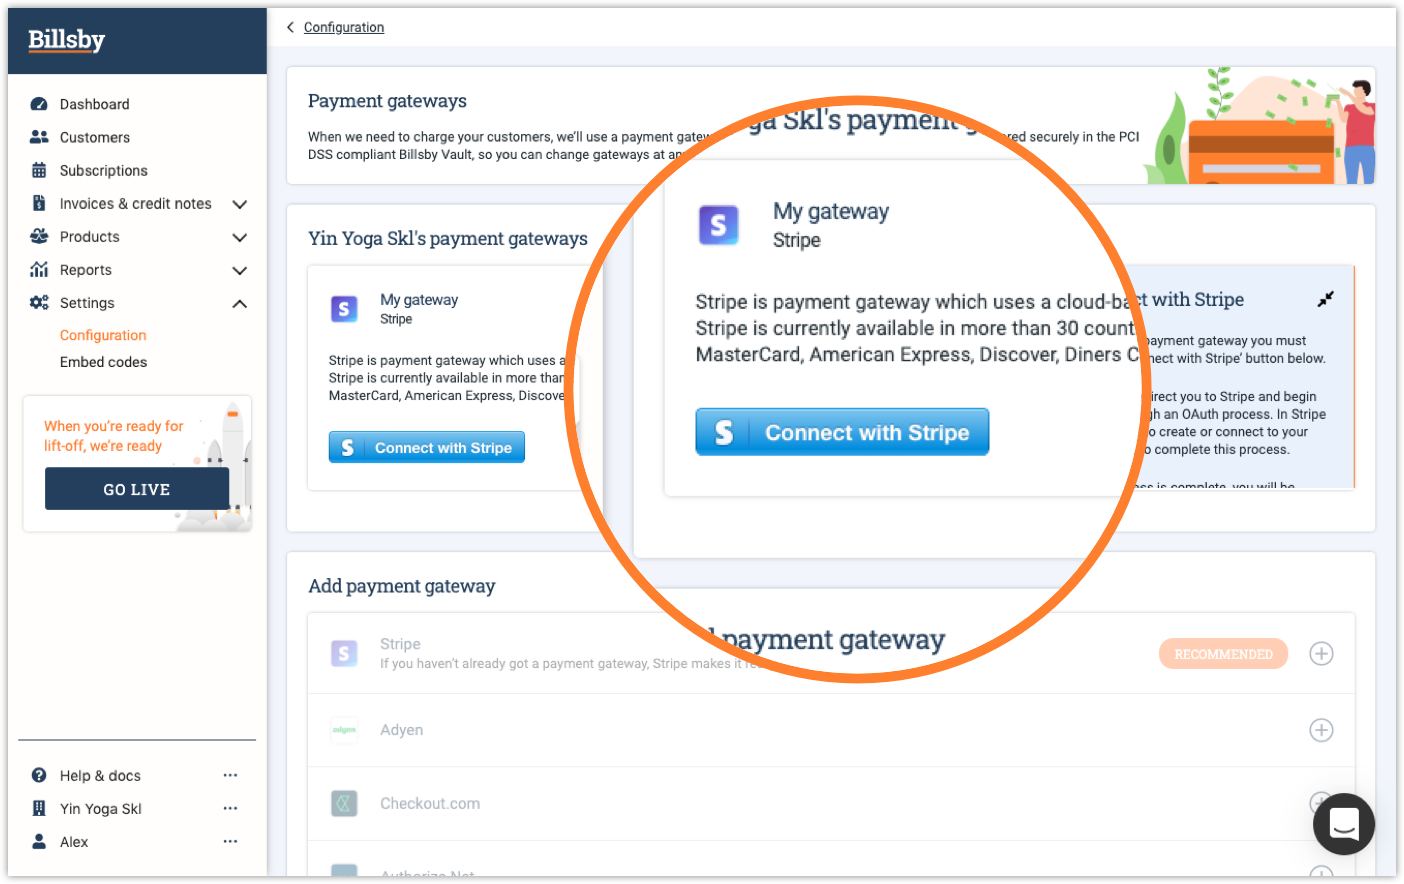
This will redirect you to Stripe and commence the OAuth process. In order to complete this process you will need to connect your account to Stripe.
If you don't have an account with Stripe already, then you will need to create one. Click on the link to redirect you to the registration page and then fill out the form. After that you will need to authorise Billsby access to your account.
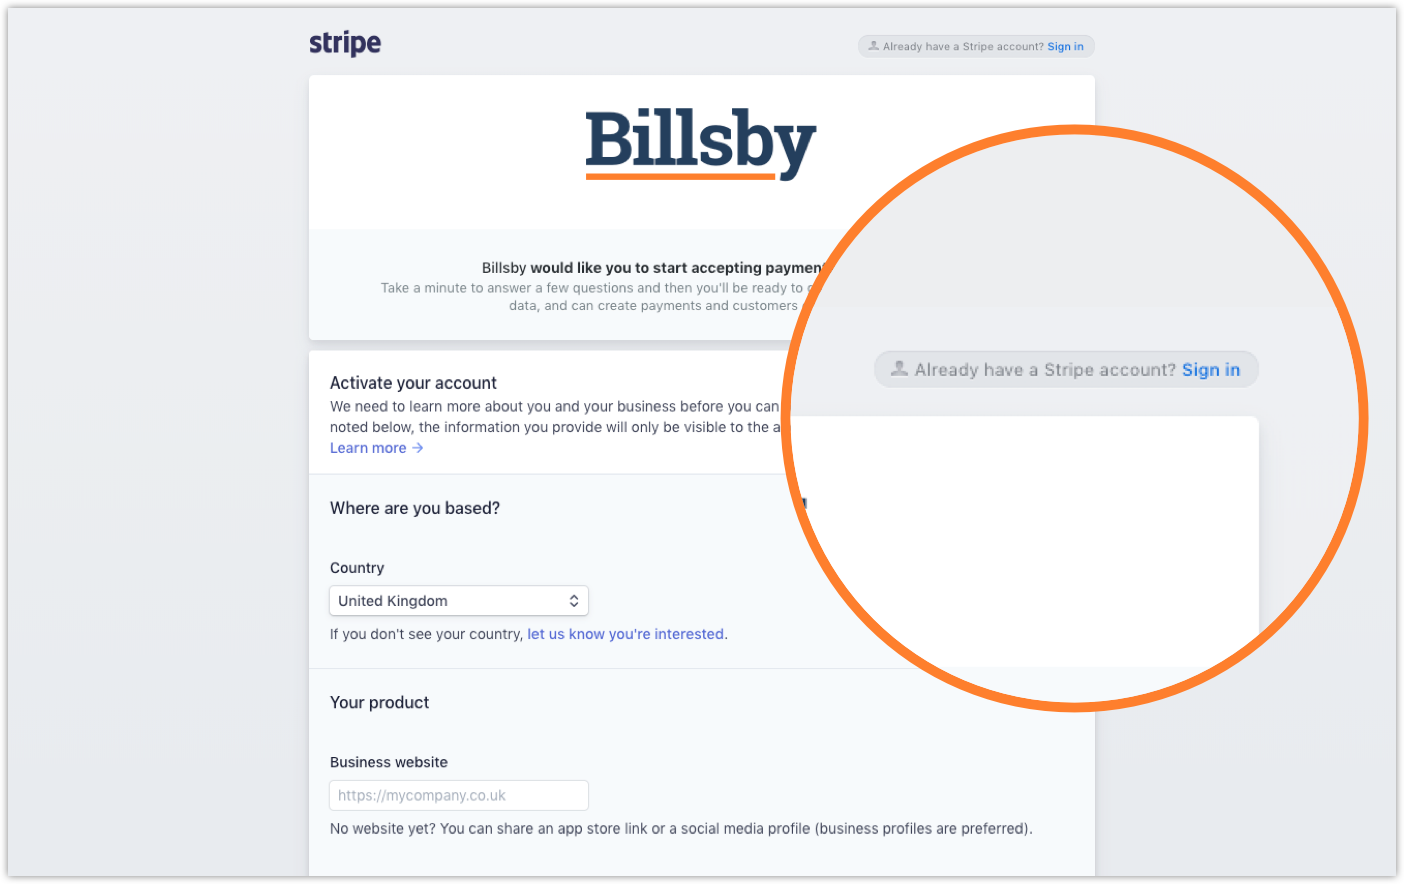
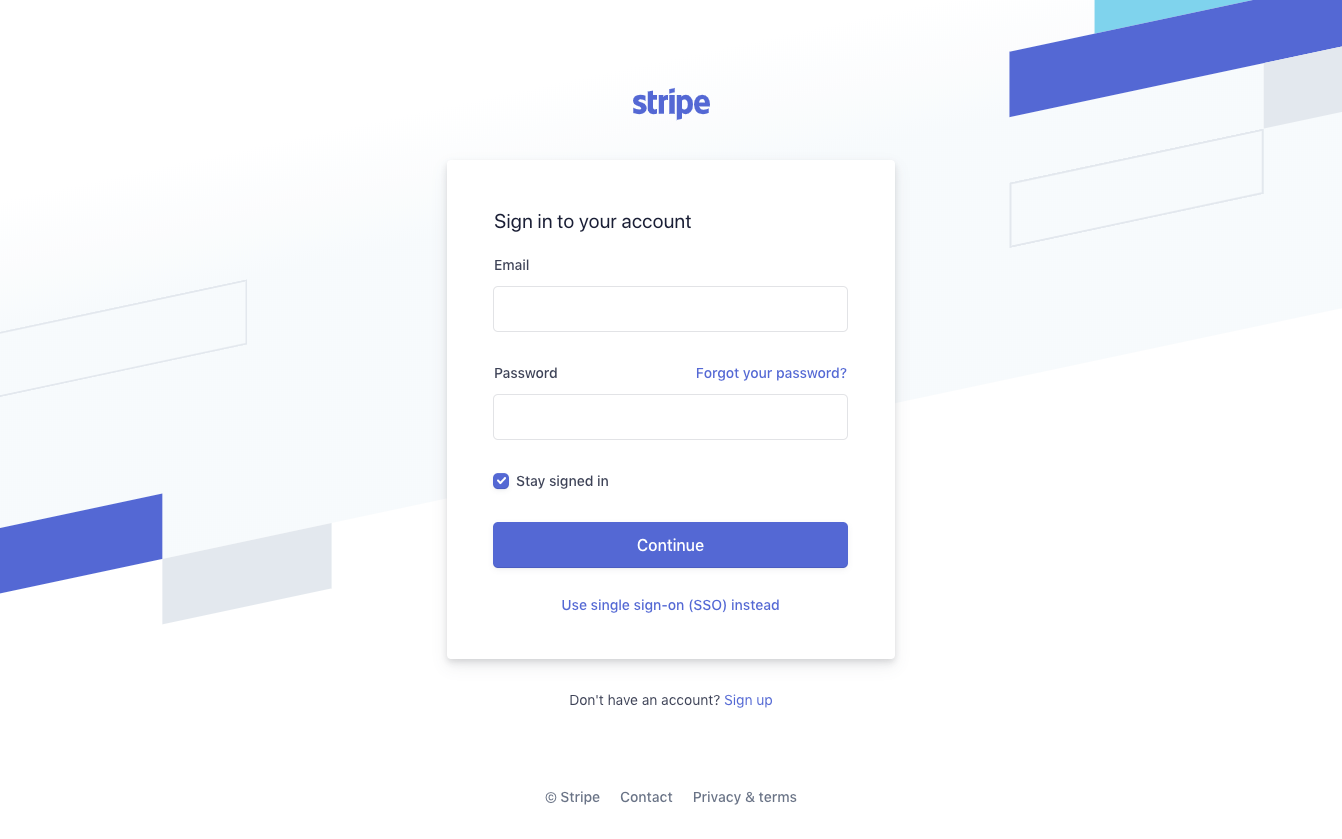
If you already have a Stripe account, you can skip this step and go straight to the login page.
Once you've completed these steps, you will be redirected back to Billsby. Here, you can assign your gateway with a display name and then add it to your list of payment gateways.
Linking your currencies
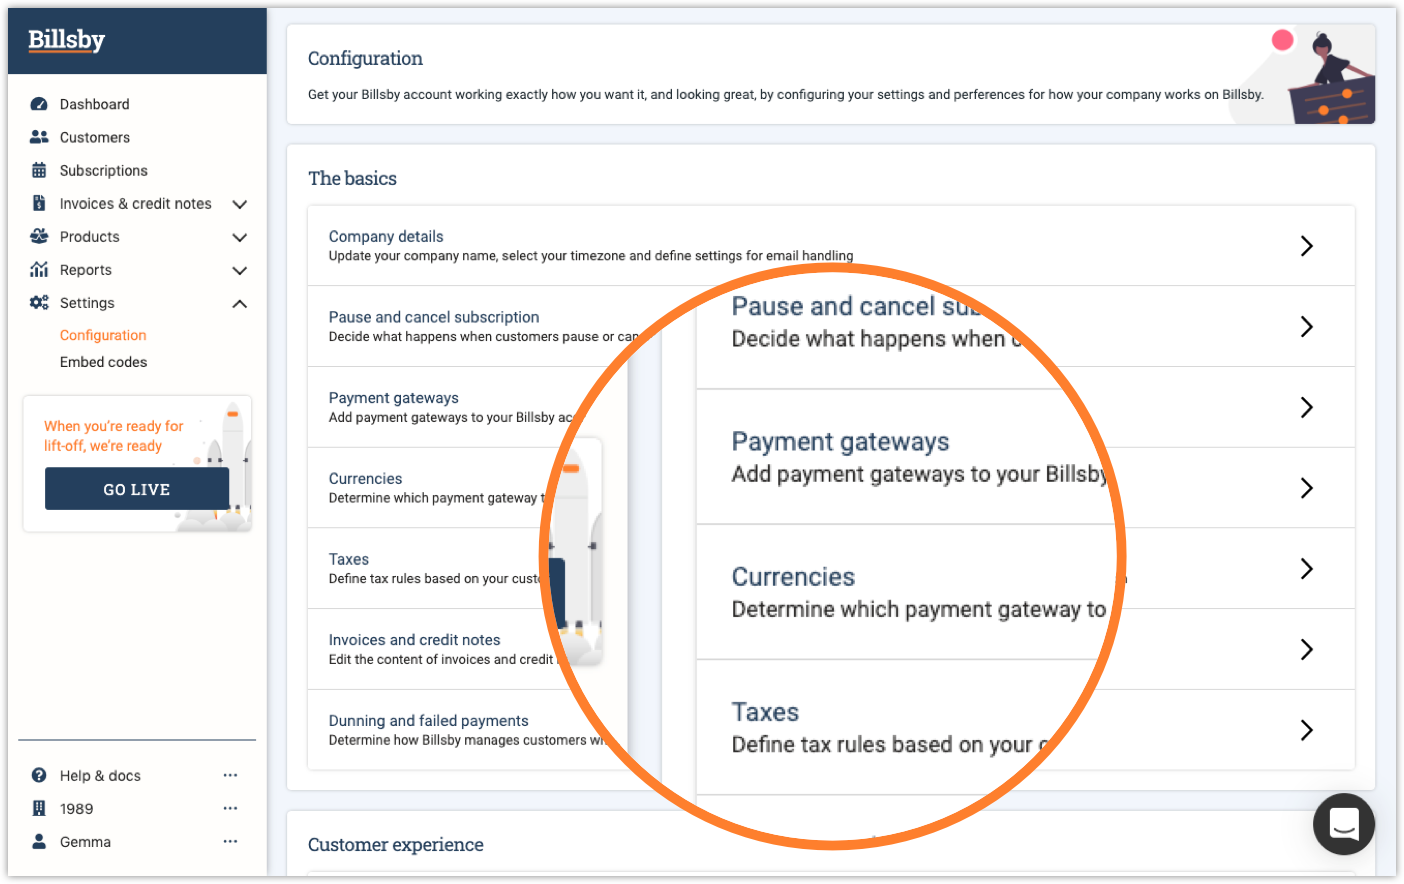
Once the gateway has been saved you'll need to link it to a currency to be able to start using it. To do this, navigate to Configuration > Currencies.
First, you'll need to add a gateway to your Base Currency. To do this, use the dropdown provided to choose the gateway from your list of connected gateways.
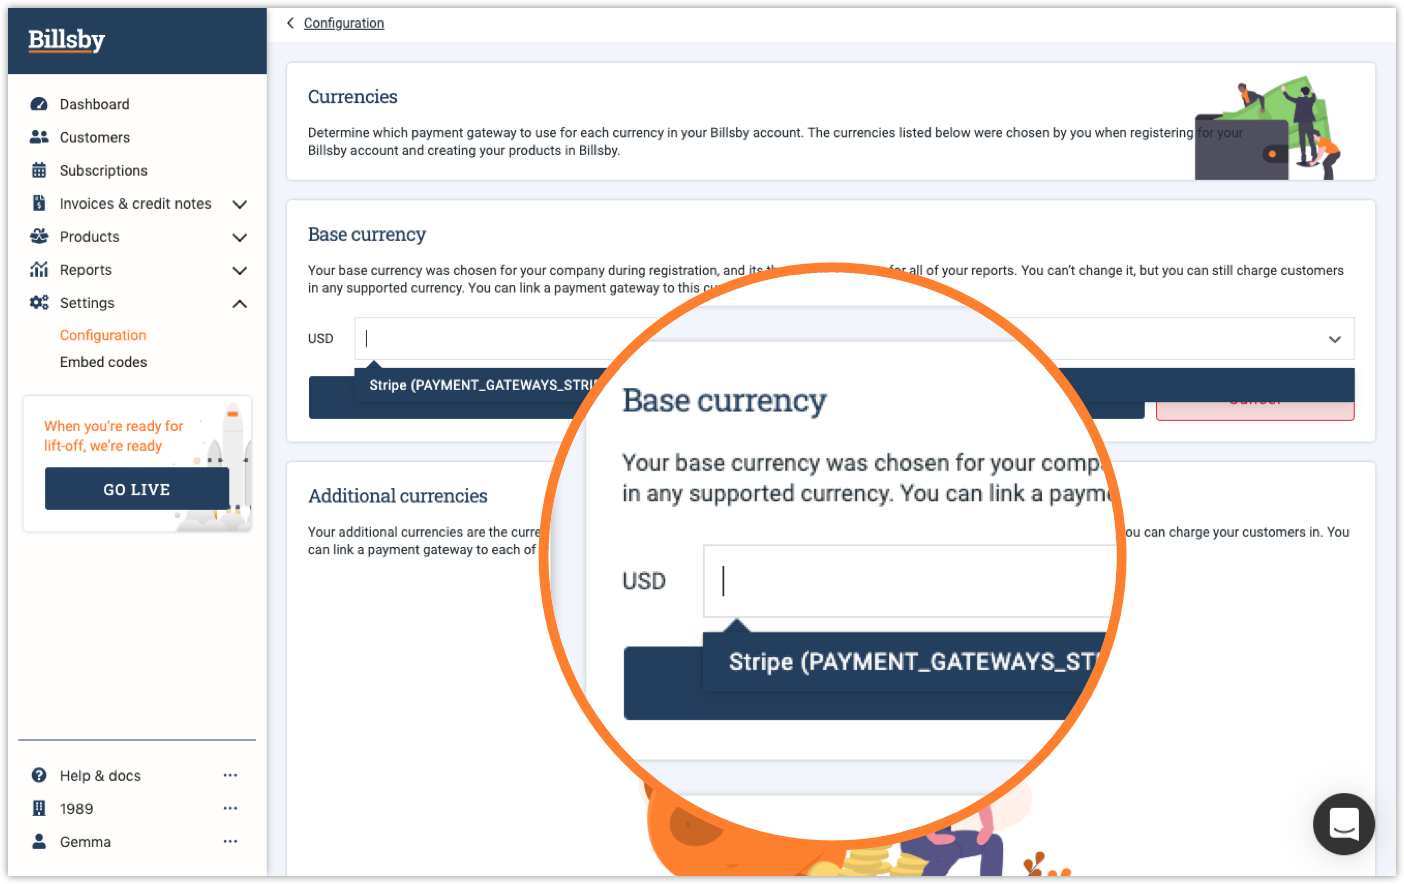
Stripe can be added as the payment gateway for as many additional currencies as you'd like. Simply use the dropdown menu to select Stripe from your connected gateways and you'll be ready to start charging in those currencies through Stripe.
Updated about 5 years ago
